
Ah, summer! What a glorious time of year we denizens of Stouffville find ourselves within. Sure, the summer may be coming to a close (we at time of writing are in the back half) but there is still plenty of time to get everything we want to do done. Stouffville is always rife with activities whenever the warm months come about, and even if we don’t do anything in town, we can still find plenty to do around the house!
There is an old saying we’re going to paraphrase here – a landscaper’s work is never done. The same can be applied to homeowners and gardeners as well. In order to maintain a good property, or in the very least a good looking backyard, or in the category of even more least a decent garden – one has to spend a lot of time. Not only time either, but effort as well. Yes, the life of a landscaper, homeowner or gardener can be one filled with stress, hard work and toil, but at the end of the day our work can be seen before our eyes.
Today, that work is going to be tree removal. This is our second article about the practice, and is going to cover the “How” portion. Last time we talked about the “Why”, and we discovered all the reasons a homeowner, landscaper or gardener would want to take a tree off their property. Today, we’re going to do away with the reasons as to why someone would take out a tree, and instead learn about how to actually put that thought into practice. Again, it’s going to be a lot of hard work, but as we previously established this is something we as homeowners, landscapers or gardeners are used too. So, without further ado, let’s leap right into the world of tree removal.
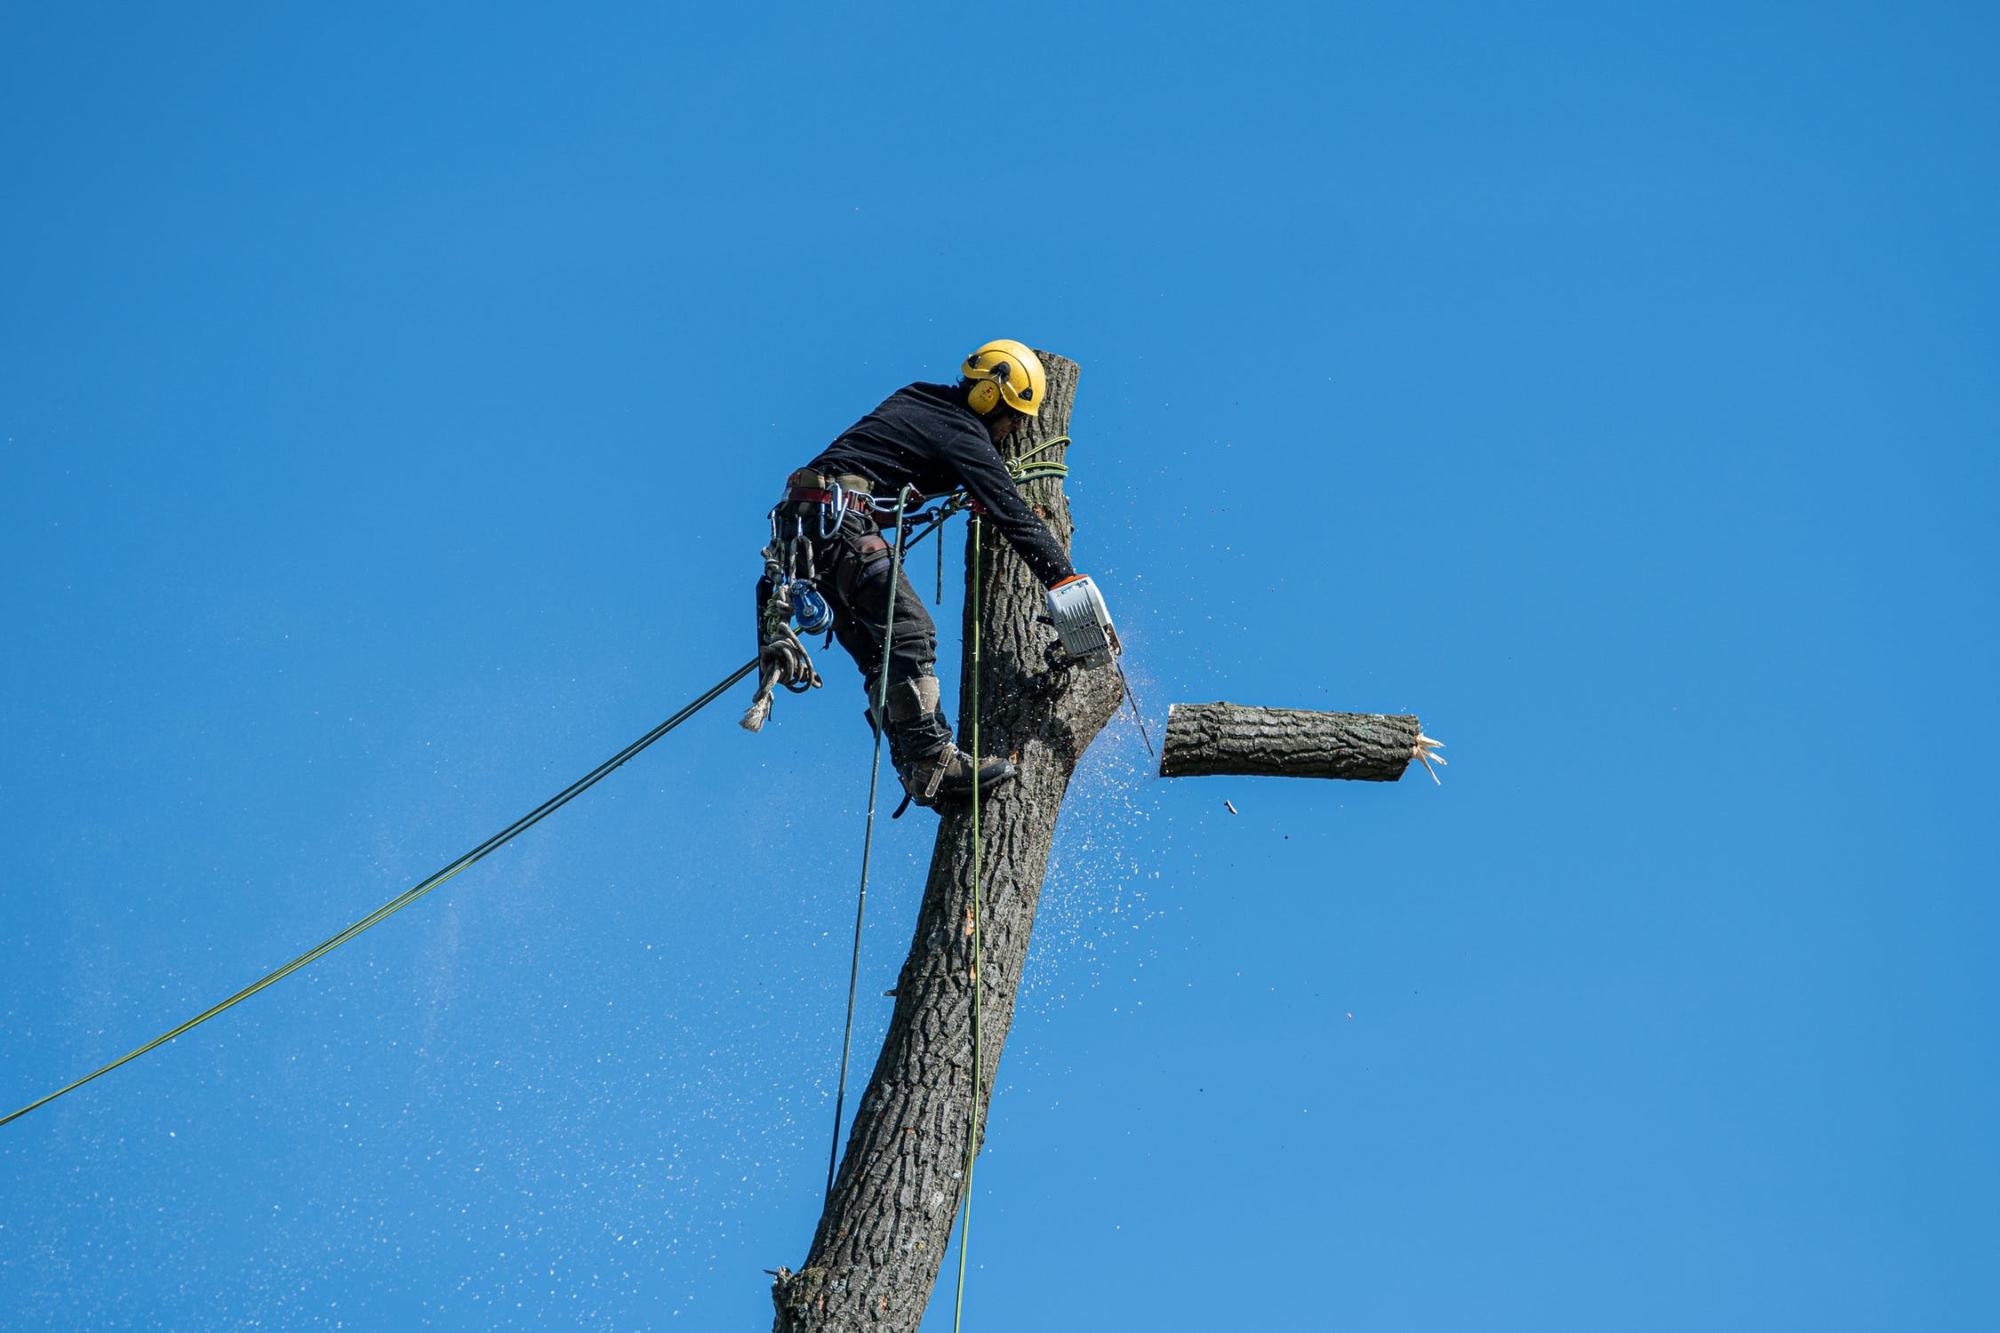
Let us start by saying the tree removal process can be a dangerous one. It’s not one that can be done by the average homeowner, landscaper or gardener. We would recommend getting professionals to do the job. While it may not be the cheapest of options, can one really put a price on their safety? This option should definitely be weighed in on before jumping into the tree removal process.
1 – Getting The Right Equipment
One is going to have to start with all of their safety needs – that includes goggles, gloves and a helmet. This may seem like overkill, but should something go wrong its a lot better to have safety equipment on than to not. We would also recommend that one wears long pants and a long shirt in order to do this job. Finally, as it is with most other jobs, it would be best if one is equipped with steel toed boots. Again, these are all great things to have in order to cut down a tree.
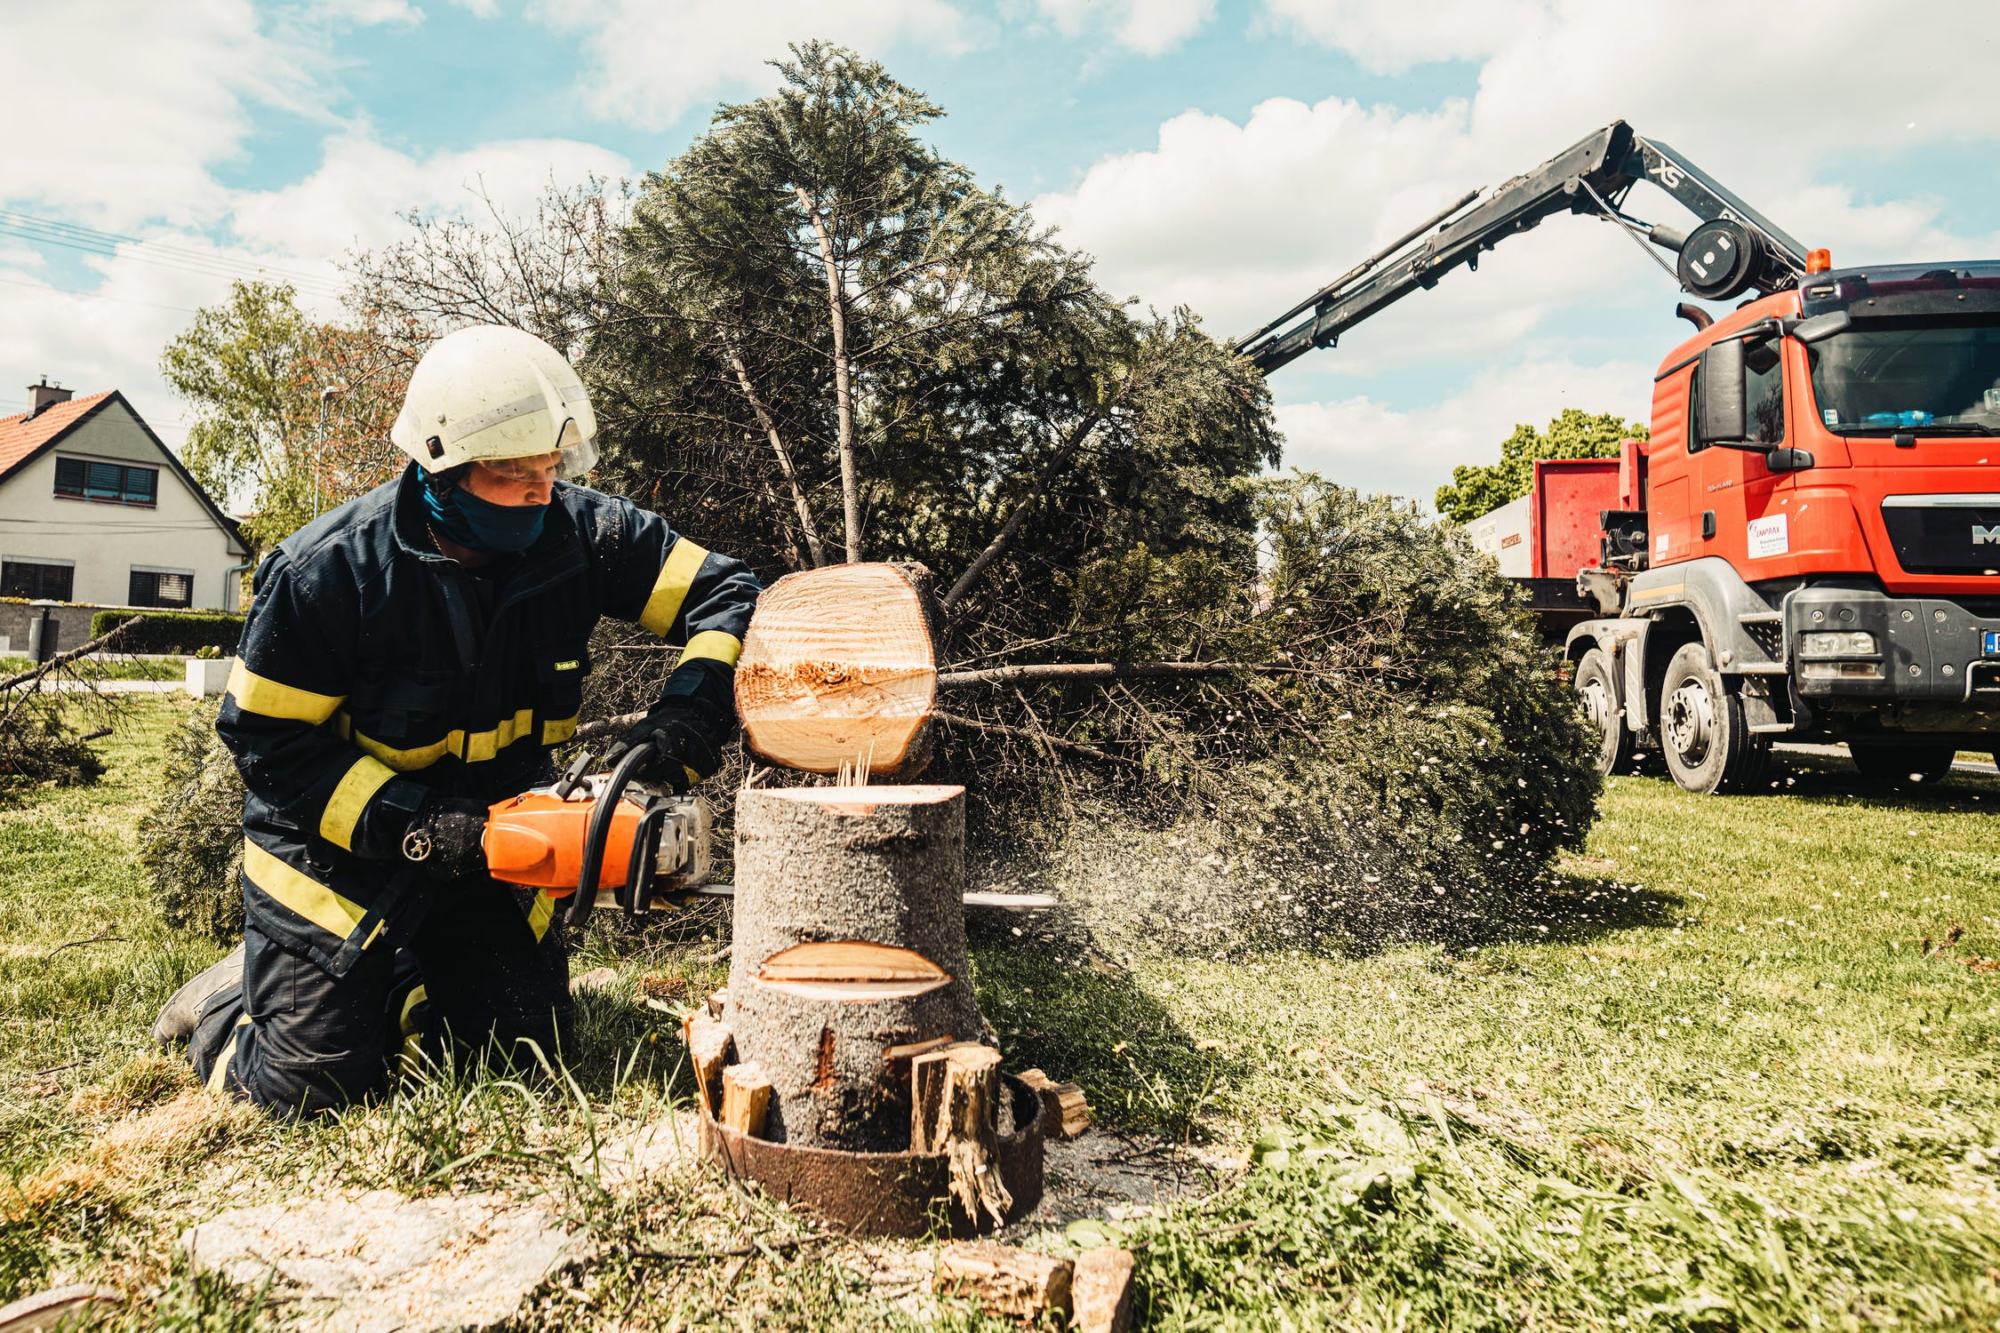
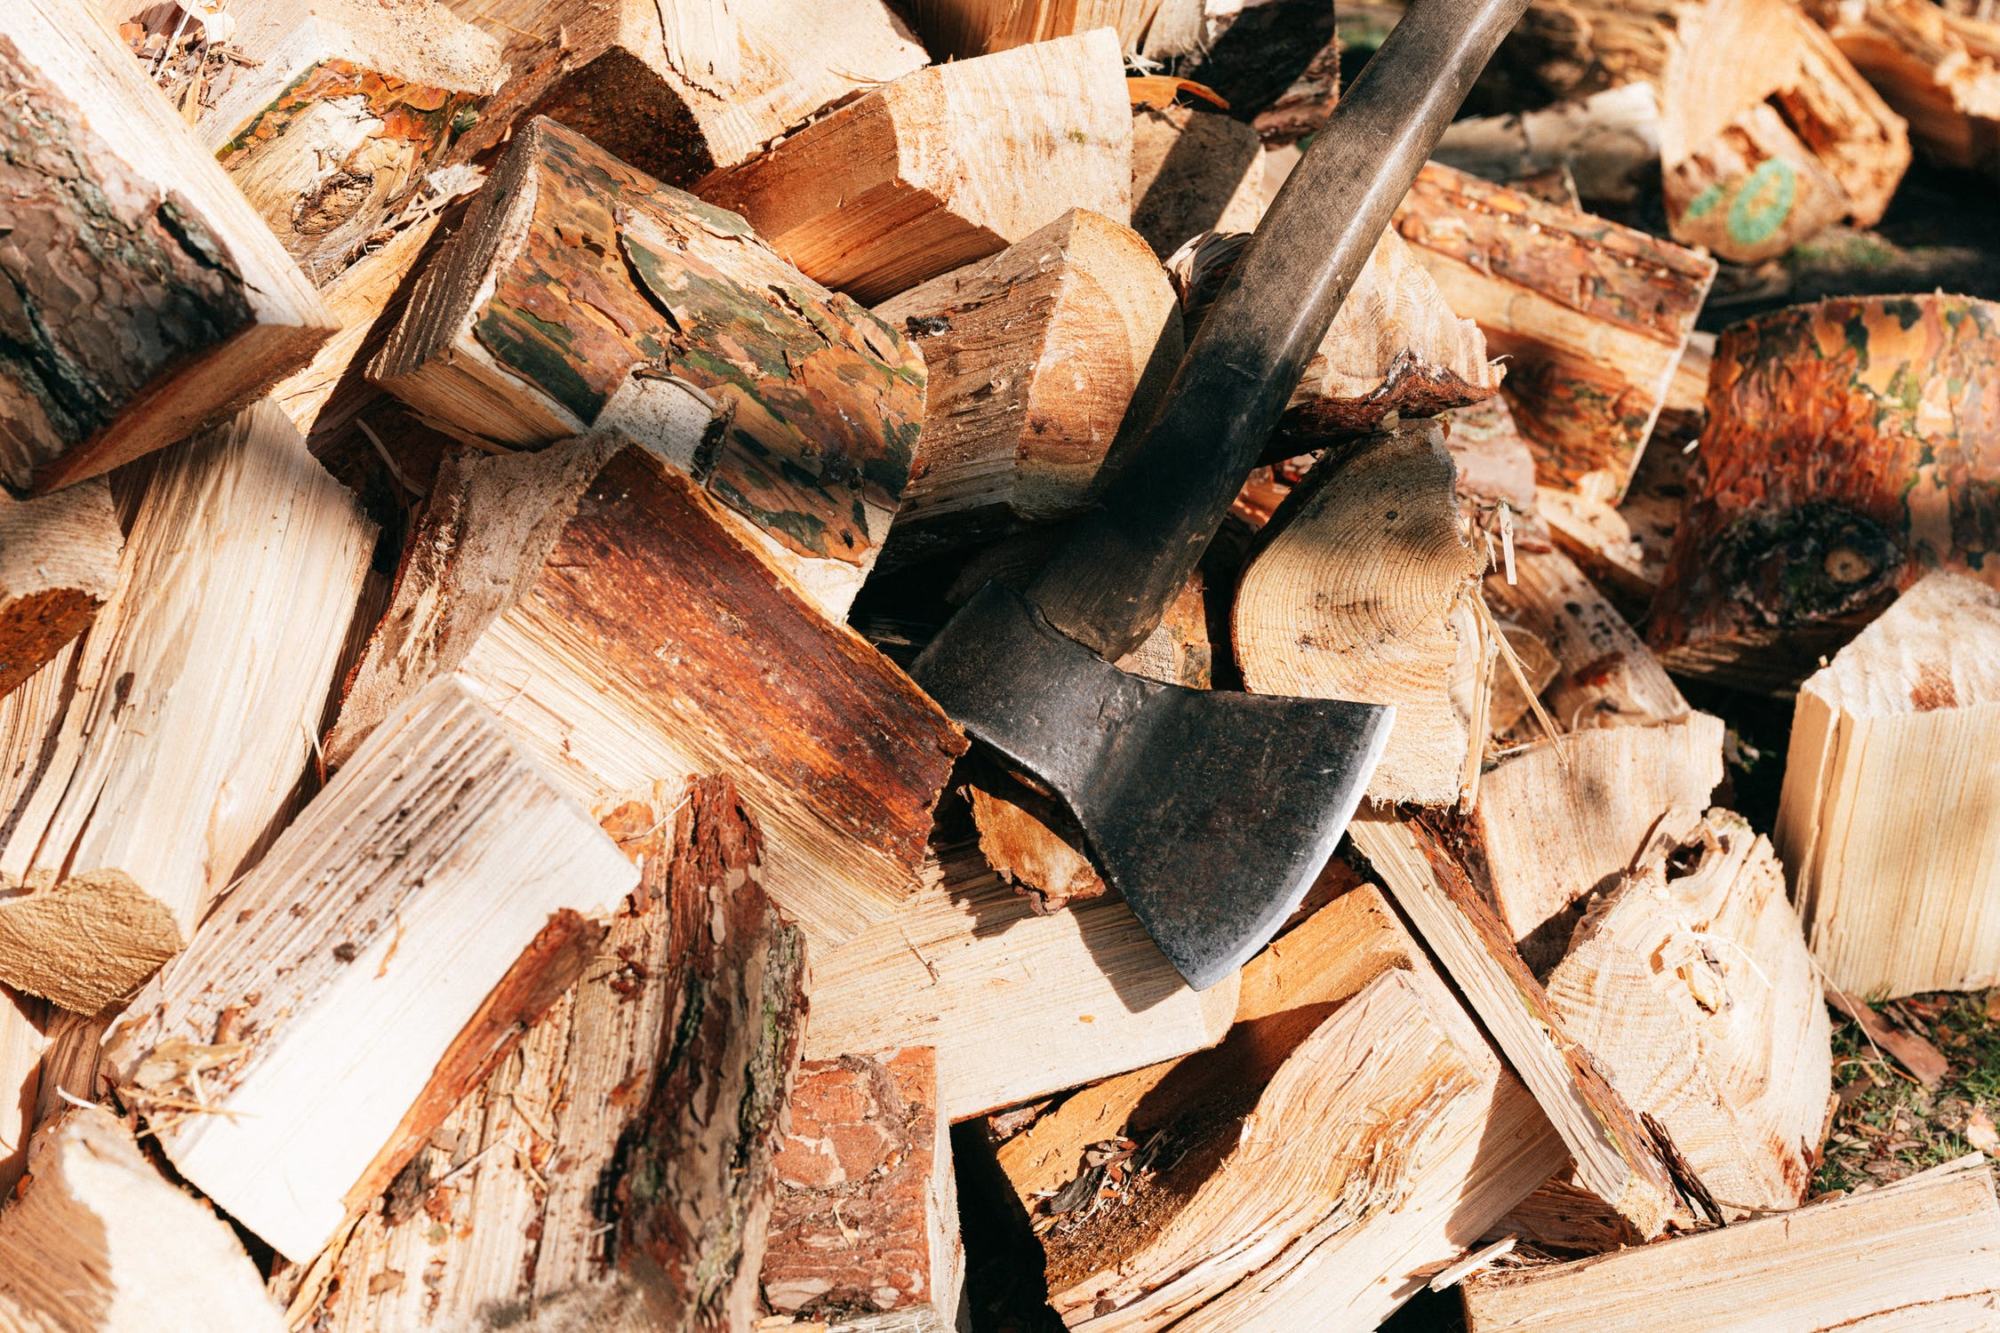
Next, one is going to have to choose what they are going to use in order to cut down the tree. We would recommend using a chainsaw, as it is the easiest of options when it comes to felling a tree. However, if one does not own a chainsaw, one can use an axe. An axe is going to take worlds more effort, so if one can find a way to get a chainsaw we would absolutely recommend exhausting all possible ways to acquire that.
2 – Clearing Some Space
This is the golden rule when it comes to cutting down a tree – anything a gardener, landscaper or homeowner doesn’t want to lose should be out of range of where the tree is going to fall. A rule of thumb should be keep anything that’s not worth lose outside of two of the tree’s length. Keep in mind that the only person that really should be near the tree when it’s coming down is the person that’s going to be cutting down the tree.
3 – Choose Which Way The Tree Should Fall
The best choice for the landscaper, homeowner or gardener cutting down the tree when it comes to which way the tree should fall is the way in which the tree would most likely fall. For example, if the tree is leaning to the right, it would be best for the tree to fall to the right. It is always beside to have gravity on one’s side when they are cutting down a tree.
One should always make sure to have an “escape route” if things should go wrong. Plan to have the tree fall in the right way (the way in which one would want the tree to go) and how one is going to escape that. However, there should also be a plan in case the tree does not go the right way – make sure to have a plan if that does happen.
4 – The First Cut
One should try to stand so that their left should is facing the tree trunk. Then, they should cut 70 degrees downward into the tree, in the direction that one wants the tree to fall. One should only stop cutting when the cut is about one quarter of the tree’s diameter.
5 – The Second Cut
Once the first cut is complete, it’s time to execute the second cut. Go to the opposite side of the first cut, and start to cut vertically near the bottom of the first cut. It is important that one cuts the tree as flat as possible in order to make the fall predictable. One can stop cutting when there is about one tenth left of the tree’s trunk.
6 – Get out of there!
The tree should most likely start to fall once the second cut is complete. This is where the escape plan comes into play – get out of the way! There are a lot of things that can go wrong while a tree is falling, so the best bet is to steer clear and let gravity do the rest of the work.
And so, this article about tree removal has come to an end. Please be careful out there!