Spring is on the horizon dear denizens of Stouffville! Soon we will be able to have the sun beating down on our face, the colds and grays of winter behind us. We will be walking the streets of Stouffville, or perhaps even sitting in our beautiful Stouffville backyards. And what is the perfect addition to any beautiful Stouffville backyard? Why a pergola of course! In a previous article, we discussed what exactly a pergola was, but now we’re going discuss how one may actually put a pergola into one’s beautiful Stouffville backyard. It may seem like a difficult process, however the benefits totally outweigh the cons. Without further ado, let’s continue.
A pergola adds beauty, functionality, and value to any outdoor space, providing a shaded area for relaxation and entertainment. Installing a pergola may seem like a daunting task, but with the right tools, materials, and a systematic approach, it can be a rewarding DIY project. In this comprehensive guide, we’ll walk one through the step-by-step process of installing a pergola, from planning and preparation to final touches. And for those who don’t want to install their own pergola – the professionals are here to help!
Planning and Preparation: Determine the location: Choose the ideal spot for one’s pergola, considering factors such as sunlight, existing structures, and utility lines.
Obtain necessary permits: Check with one’s local building department to see if permits are required for building a pergola in one’s area.
Choose the right size and style: Measure the area and select a pergola design that complements one’s outdoor space and meets one’s needs.
Gathering Materials and Tools:
Materials: Purchase high-quality lumber, hardware, and any additional materials required for one’s pergola design, such as concrete for footings.
Tools: Gather essential tools including a drill, saw, level, tape measure, hammer, and safety gear like gloves and goggles.
Building the Foundation:
Mark the laonet: Use stakes and string to mark the perimeter of the pergola and establish the placement of support posts.
Dig post holes: Excavate holes for the support posts, ensuring they are deep enough to provide stability and below the frost line in colder climates.
Pour footings: Mix and pour concrete into the post holes, inserting post anchors or brackets to secure the support posts.
Installing Support Posts and Beams:
Set the posts: Place the support posts into the footings, ensuring they are plumb and aligned according to one’s laonet markings.
Attach beams: Secure horizontal beams across the top of the support posts, using appropriate hardware to create a sturdy framework for the pergola.
Adding Rafters and Cross Beams:
Install rafters: Cut and attach rafters perpendicular to the beams, evenly spacing them across the top of the pergola structure.
Add cross beams: Depending on one’s design, add additional cross beams for added support and aesthetic appeal, attaching them to the rafters securely.
Securing Bracing and Accessories:
Bracing: Install diagonal braces between support posts and beams to reinforce the structure and prevent swaying or shifting over time.
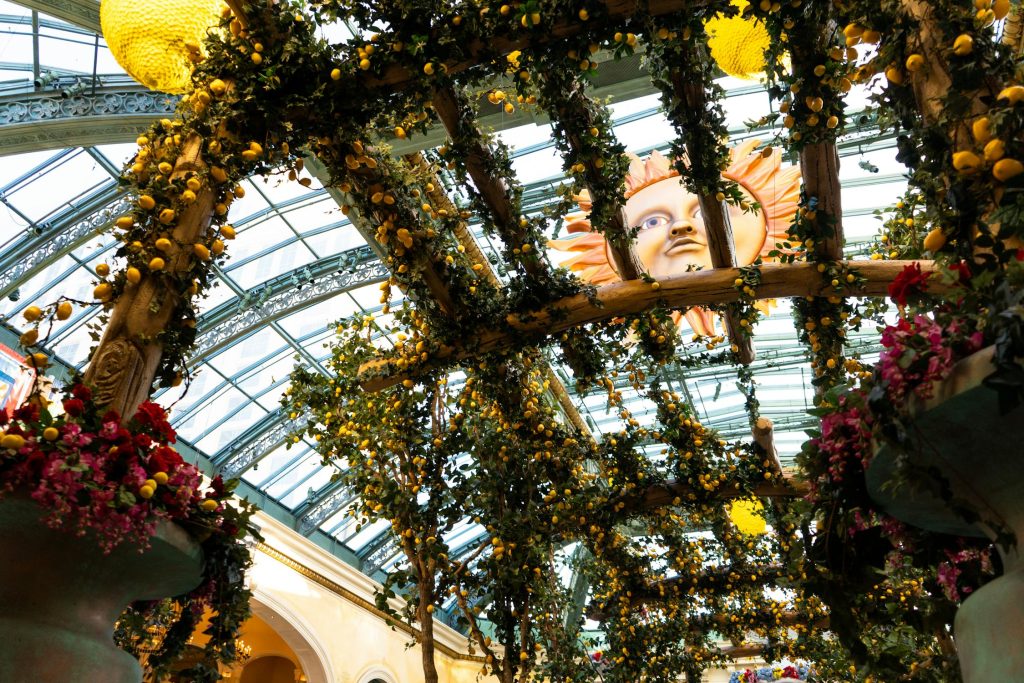
Accessories: Add optional accessories such as shade panels, curtains, or decorative elements to personalize one’s pergola and enhance its functionality.
Finishing Touches:
Sanding and staining: Smooth any rough edges with sandpaper and apply a protective stain or sealant to enhance the appearance and durability of the wood.
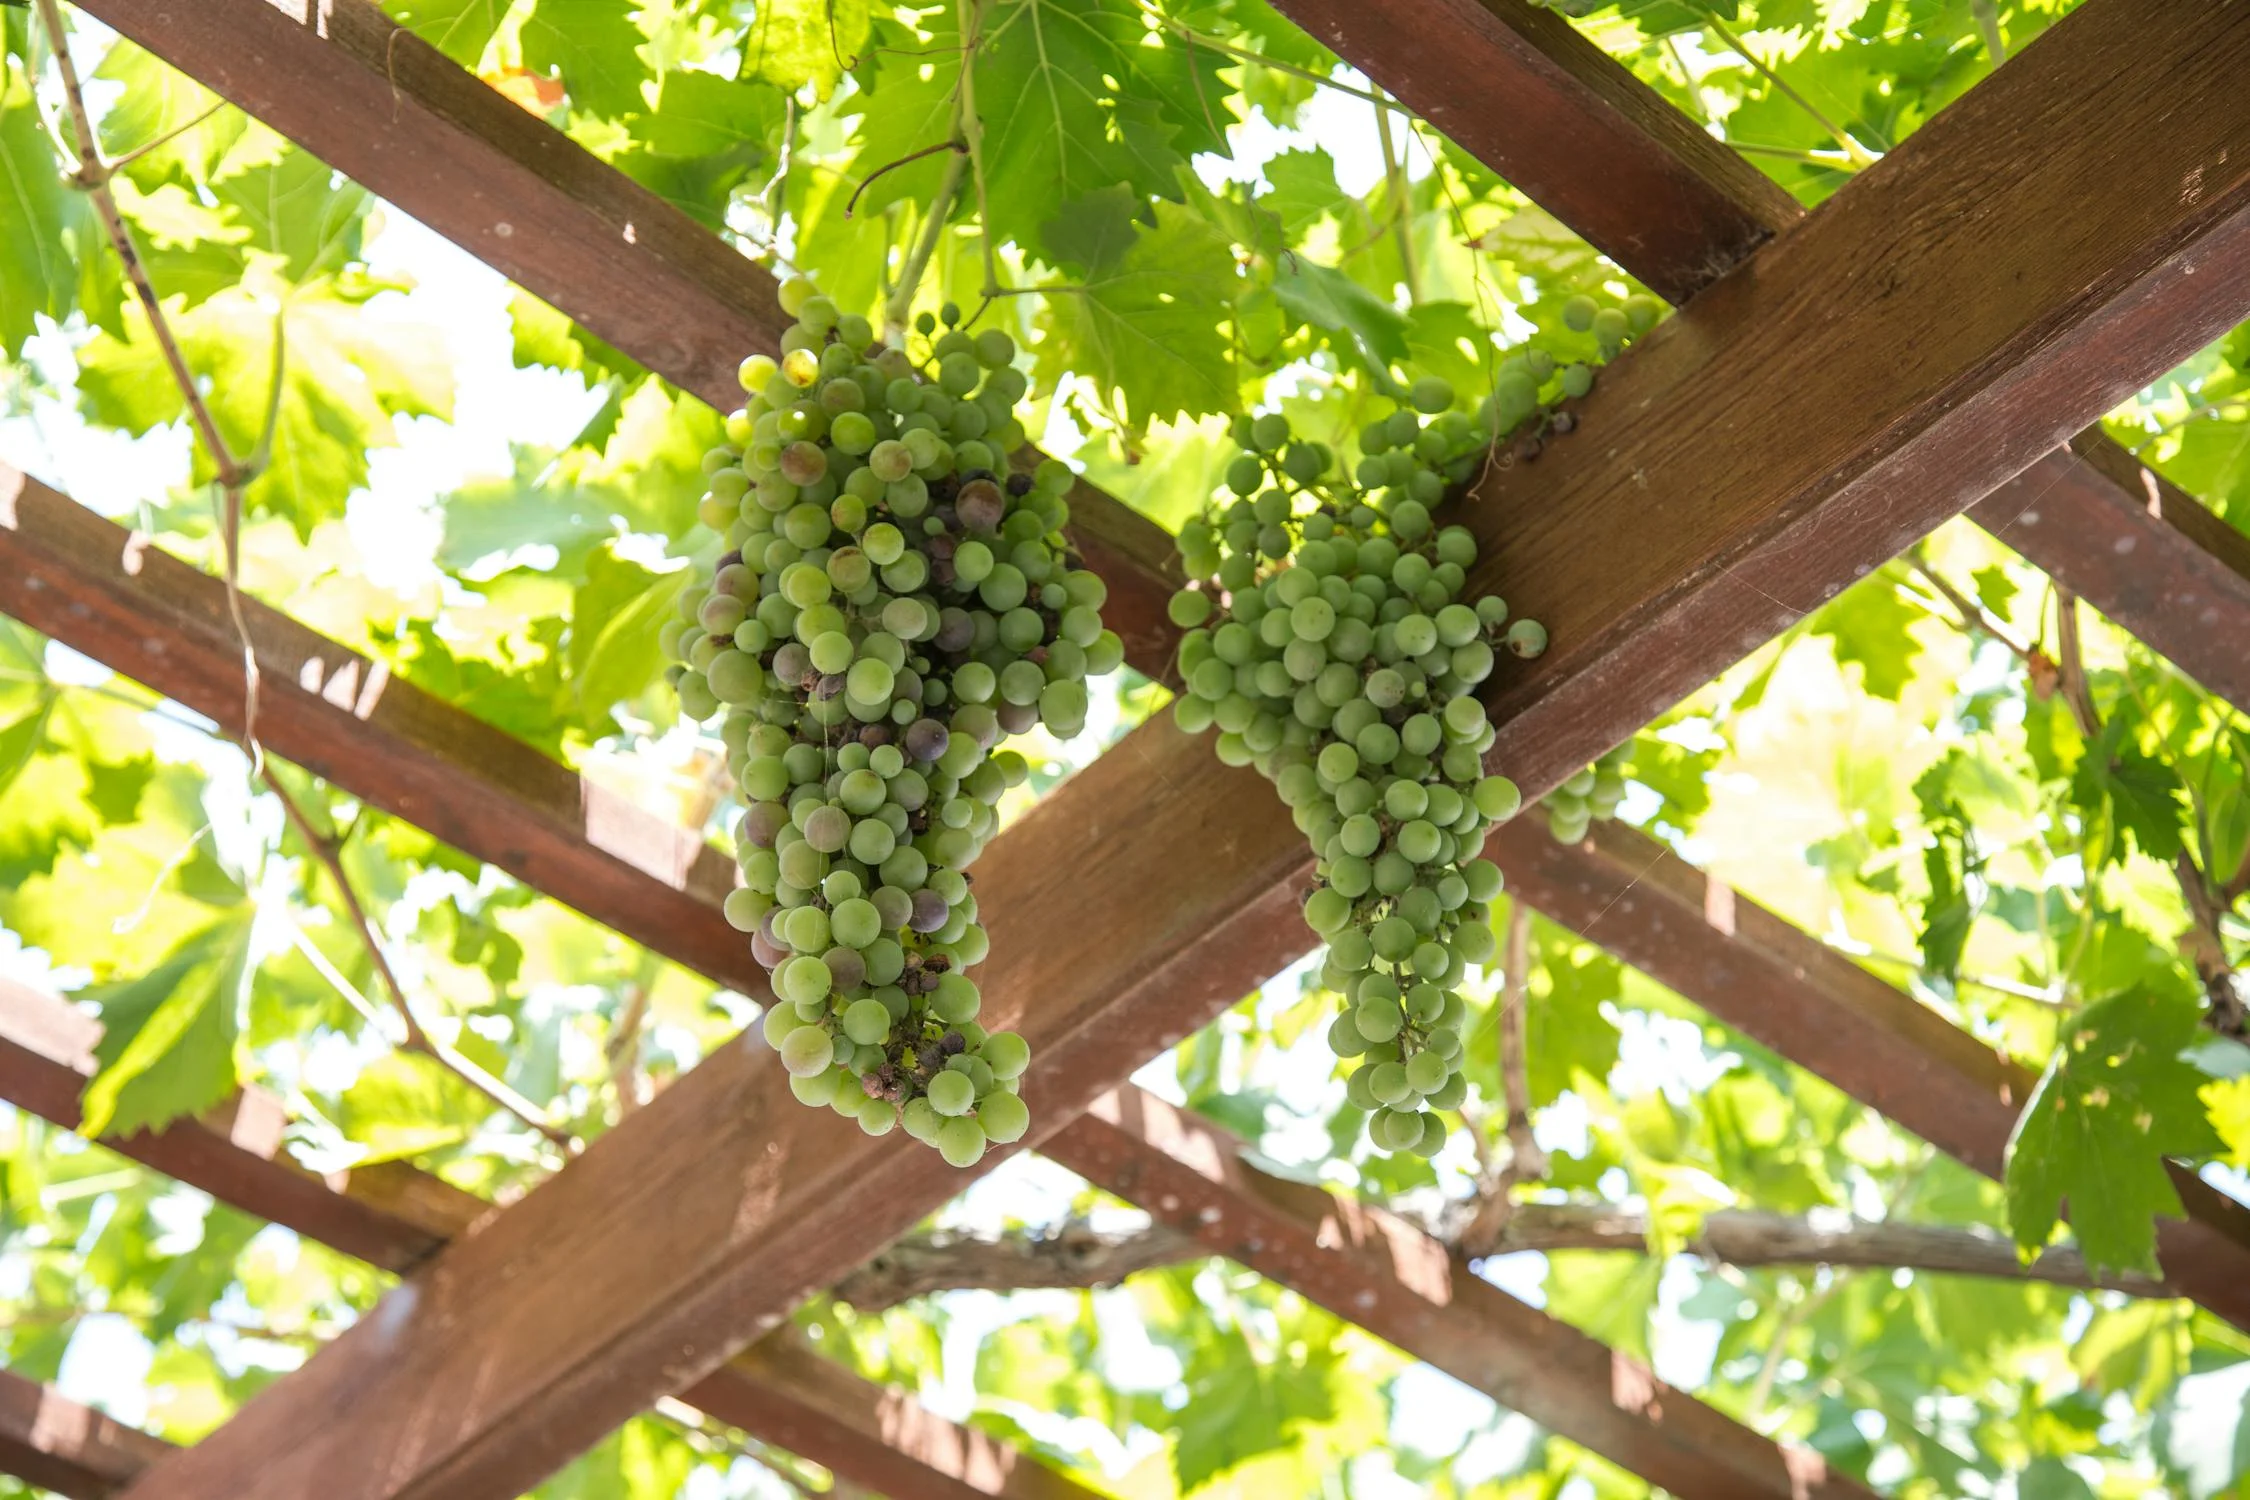
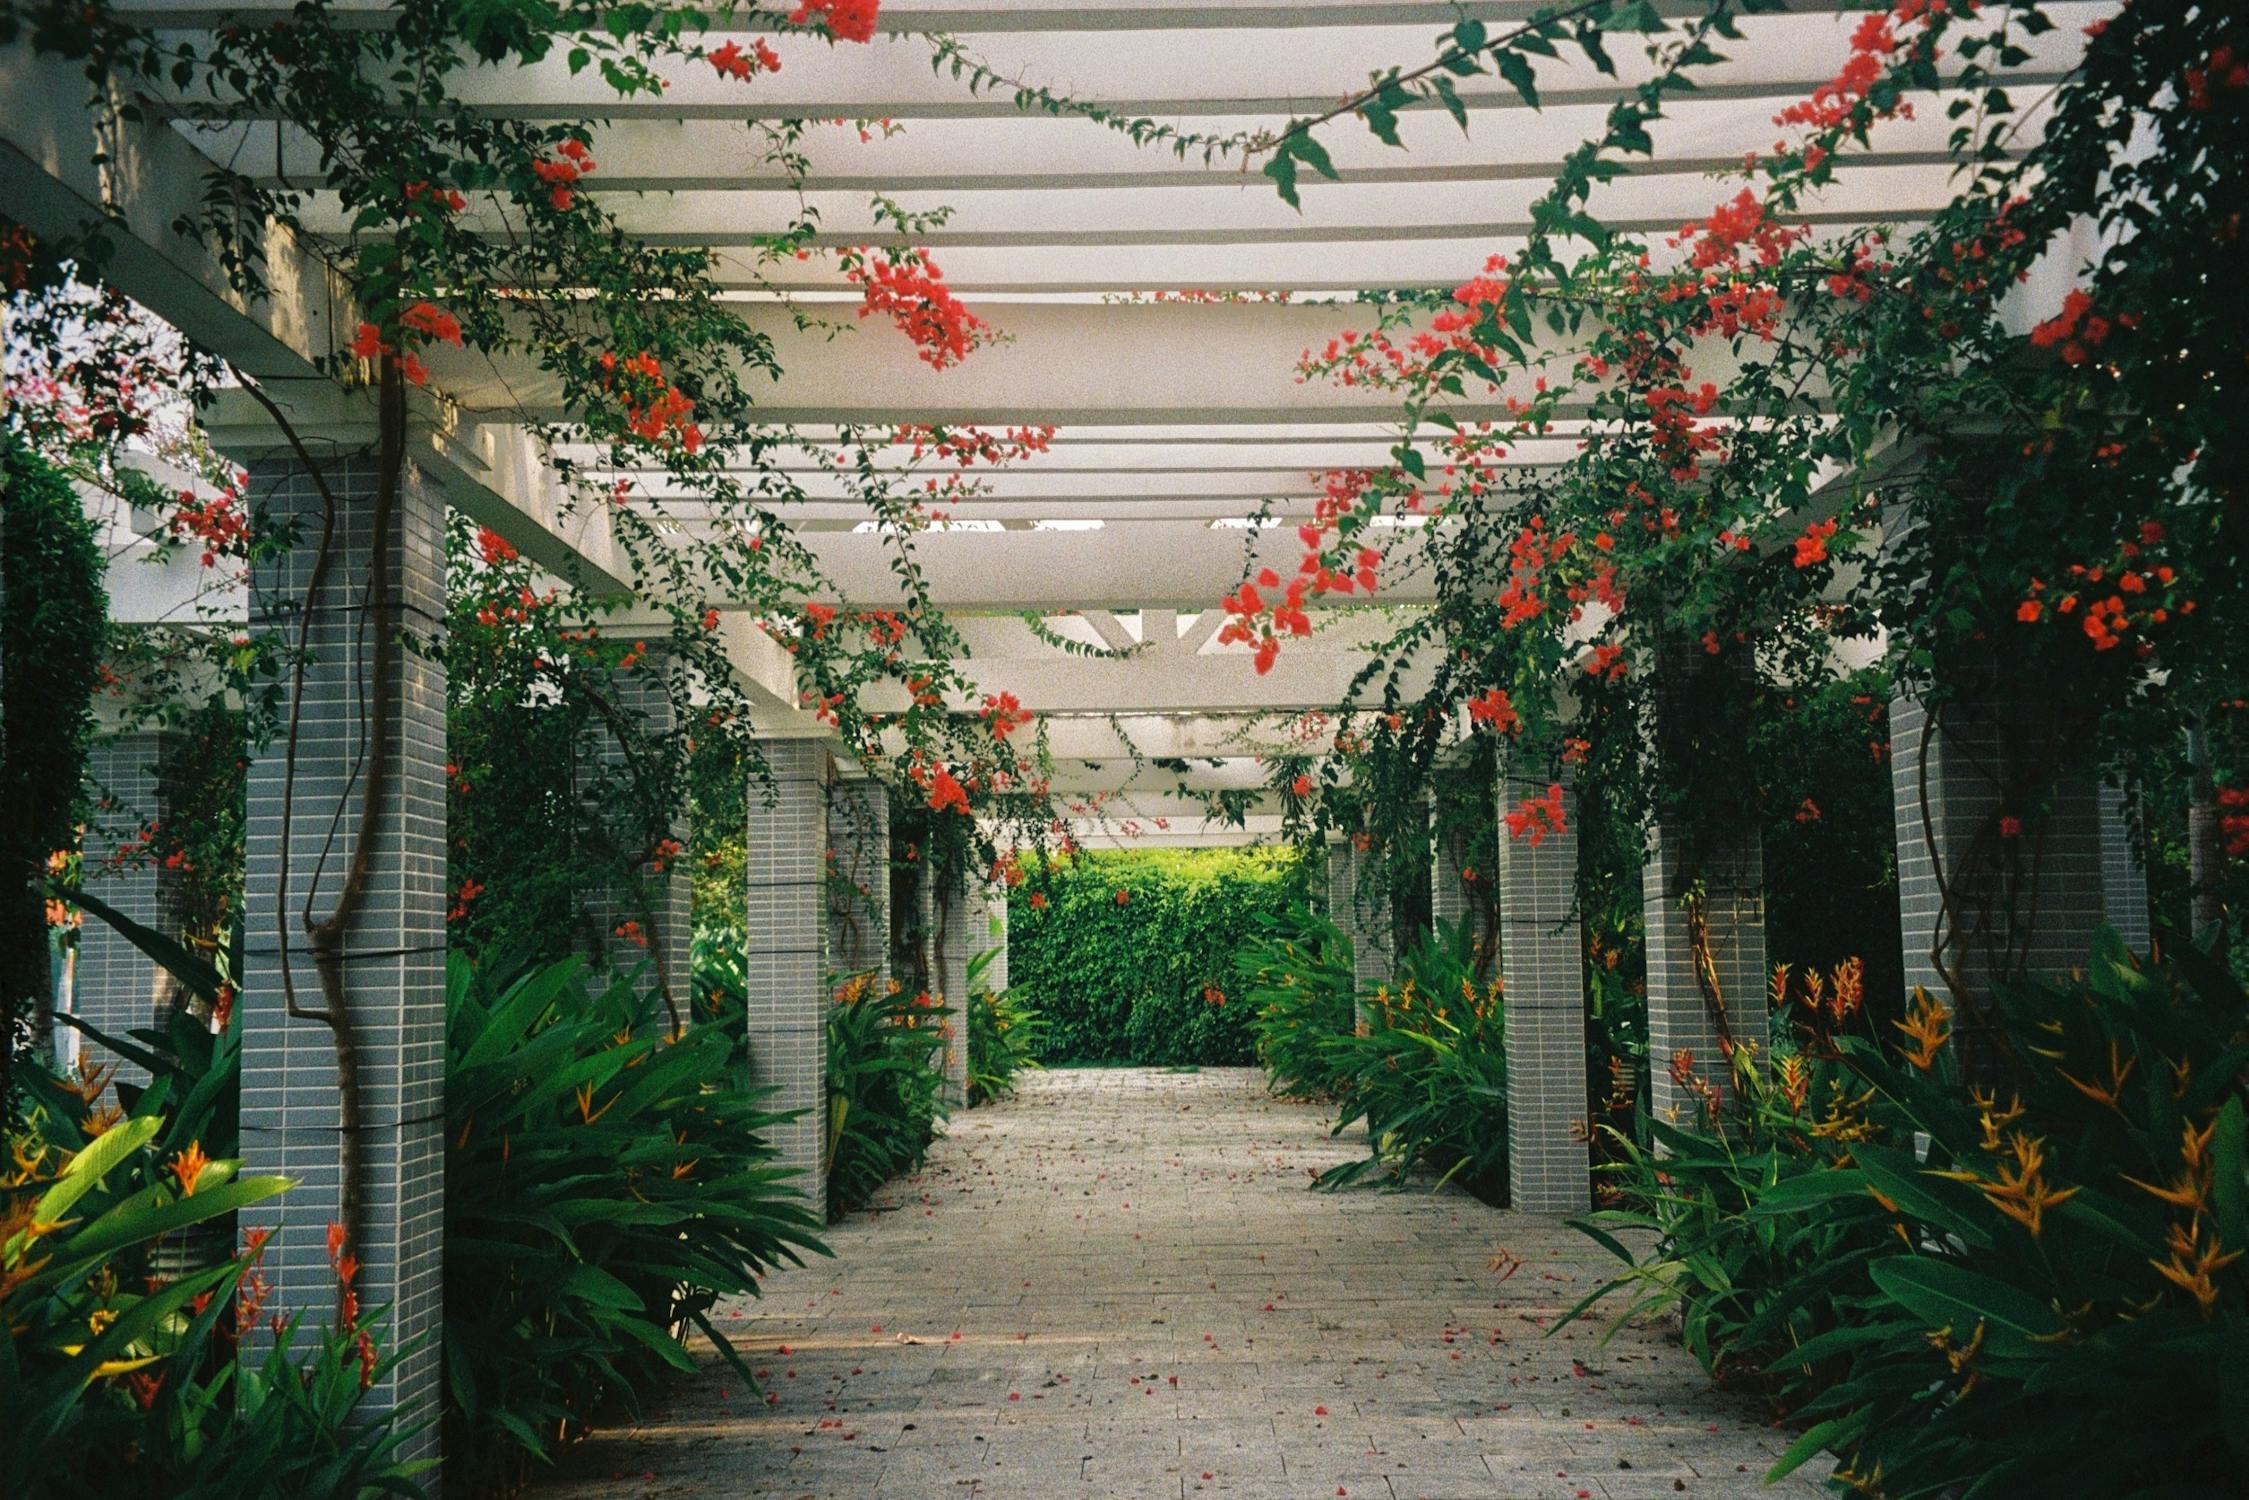
Landscaping: Incorporate landscaping elements such as vines, flowers, or potted plants around the pergola to create a cohesive outdoor oasis.
Lighting and decor: Install outdoor lighting fixtures or string lights to illuminate the pergola at night, and add comfortable seating and decor to make it a welcoming space for gatherings.
Maintenance and Care:
Regular inspections: Periodically check the structural integrity of one’s pergola, ensuring that hardware is secure and wood is in good condition.
Cleaning: Remove debris and dirt from the pergola surface, and perform any necessary maintenance tasks such as re-staining or resealing to prolong its lifespan.
Seasonal adjustments: Adjust shade panels or coverings as needed to optimize sunlight and airflow throughout the year, and prune any overgrown vegetation to prevent damage to the structure.
Safety Considerations: Before starting any construction, prioritize safety by wearing appropriate protective gear such as gloves, goggles, and sturdy footwear. Use caution when operating power tools and follow manufacturer instructions to prevent accidents or injuries.Work with a partner or seek assistance when lifting heavy materials or assembling large components to avoid strain or accidents.
Customization Options: Customize one’s pergola to suit one’s preferences and needs by incorporating various design elements and features.Choose from a range of materials including wood, vinyl, or metal, and select finishes and colors that complement one’s outdoor décor. Consider adding additional features such as built-in benches, privacy screens, or outdoor kitchens to enhance the functionality and versatility of one’s pergola.
Advanced Techniques: For more complex pergola designs or challenging terrain, consider consulting with a professional contractor or structural engineer for guidance and assistance. Explore advanced construction techniques such as mortise and tenon joinery or intricate lattice work to elevate the aesthetic appeal and craftsmanship of one’s pergola.
Environmental Impact: Choose sustainable materials and construction practices to minimize the environmental impact of one’s pergola project. Opt for locally sourced lumber or recycled materials whenever possible, and incorporate eco-friendly features such as rainwater harvesting systems or solar-powered lighting to reduce energy consumption.
Budgeting and Cost: Develop a realistic budget for one’s pergola project by carefully estimating the costs of materials, tools, permits, and any additional expenses. Consider alternative materials or designs to stay within budget constraints, and prioritize investments in quality materials and craftsmanship for long-term durability and satisfaction.

Troubleshooting and Maintenance: Address any issues or challenges that arise during the installation process promptly to ensure the structural integrity and safety of one’s pergola. Perform regular maintenance tasks such as tightening hardware, replacing damaged components, and inspecting for signs of wear or decay to prolong the lifespan of one’s pergola.
Enjoying One’s Pergola: Once one’s pergola is installed and complete, take the time to relax and enjoy one’s outdoor sanctuary. Host gatherings, dine al fresco, or simply unwind in the shade of one’s pergola, appreciating the beauty and tranquility it brings to one’s outdoor living space.
Installing a pergola can be a rewarding DIY project that adds both beauty and functionality to one’s outdoor space. By following this step-by-step guide and investing time and effort into proper planning, preparation, and execution, one can create a stunning pergola that enhances one’s home and lifestyle for years to come. And always remember – the professionals are here to help!