Maintaining a healthy, lush garden or lawn requires consistent watering, and an automated irrigation system can be the perfect solution. Whether one is looking to save time, conserve water, or ensure that one’s plants receive the right amount of moisture, an automated system can make all the difference. This guide will walk one through the benefits, types, and installation process of adding an automated irrigation system to one’s garden or lawn. And remember – the professionals are here to help!
1. Why Install an Automated Irrigation System?
Before diving into the details of installation, it’s important to understand why an automated irrigation system is a valuable addition to one’s outdoor space. Here are some of the key benefits:
1.1 Water Conservation
Automated irrigation systems are designed to deliver precise amounts of water directly to one’s plants or lawn, reducing water waste. Many systems come with sensors that detect soil moisture levels or weather conditions, ensuring that water is only applied when necessary. This prevents overwatering and promotes sustainable water usage, which is particularly important in areas prone to drought or with water restrictions.
1.2 Time Savings
One of the most significant advantages of an automated irrigation system is the time one will save. Manually watering one’s lawn or garden can be time-consuming, especially if one has a large yard or complex landscape. An automated system takes care of this task for one, allowing one to focus on other activities while ensuring one’s plants are well-watered.
1.3 Consistent and Efficient Watering
Automated systems provide consistent watering, which is critical for plant health. Overwatering or underwatering can lead to plant stress, disease, and poor growth. With an automated system, one can program specific watering schedules tailored to one’s garden’s needs, ensuring that each plant receives the right amount of water at the optimal time.
1.4 Increased Property Value
A well-maintained lawn and garden can significantly enhance the curb appeal of one’s property. An automated irrigation system not only helps keep one’s outdoor space looking its best, but it can also increase the overall value of one’s home. Potential buyers may see this as a desirable feature, especially if they are not keen on spending time on garden maintenance.
2. Types of Automated Irrigation Systems
There are several types of automated irrigation systems, each with its own set of features and benefits. Choosing the right system depends on one’s specific landscape, budget, and watering needs. Here’s a look at the most common types:
2.1 Sprinkler Systems
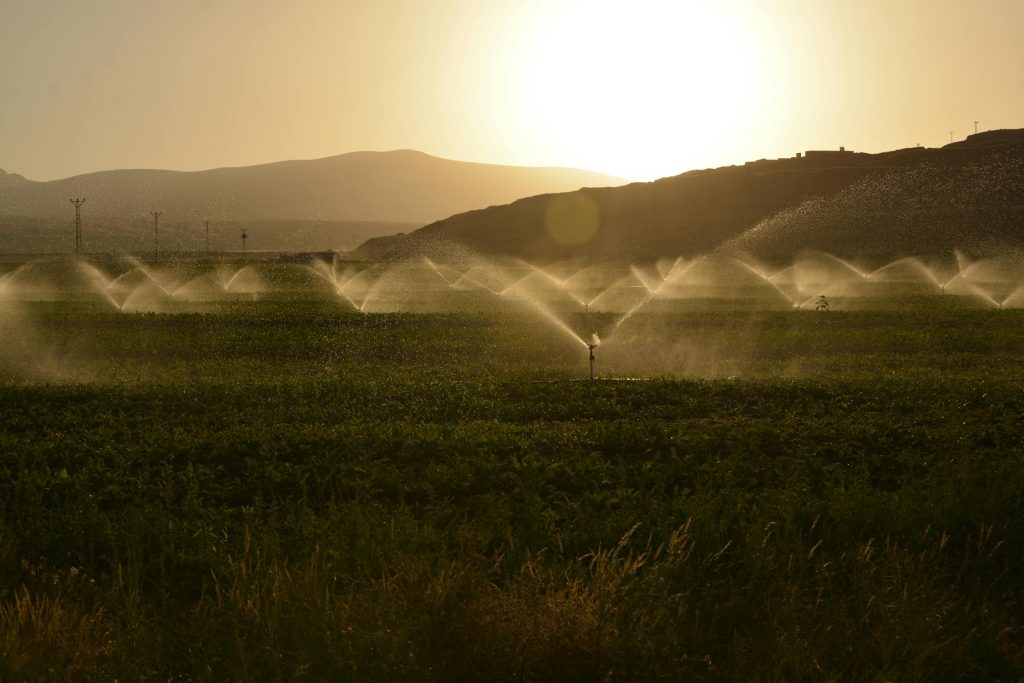
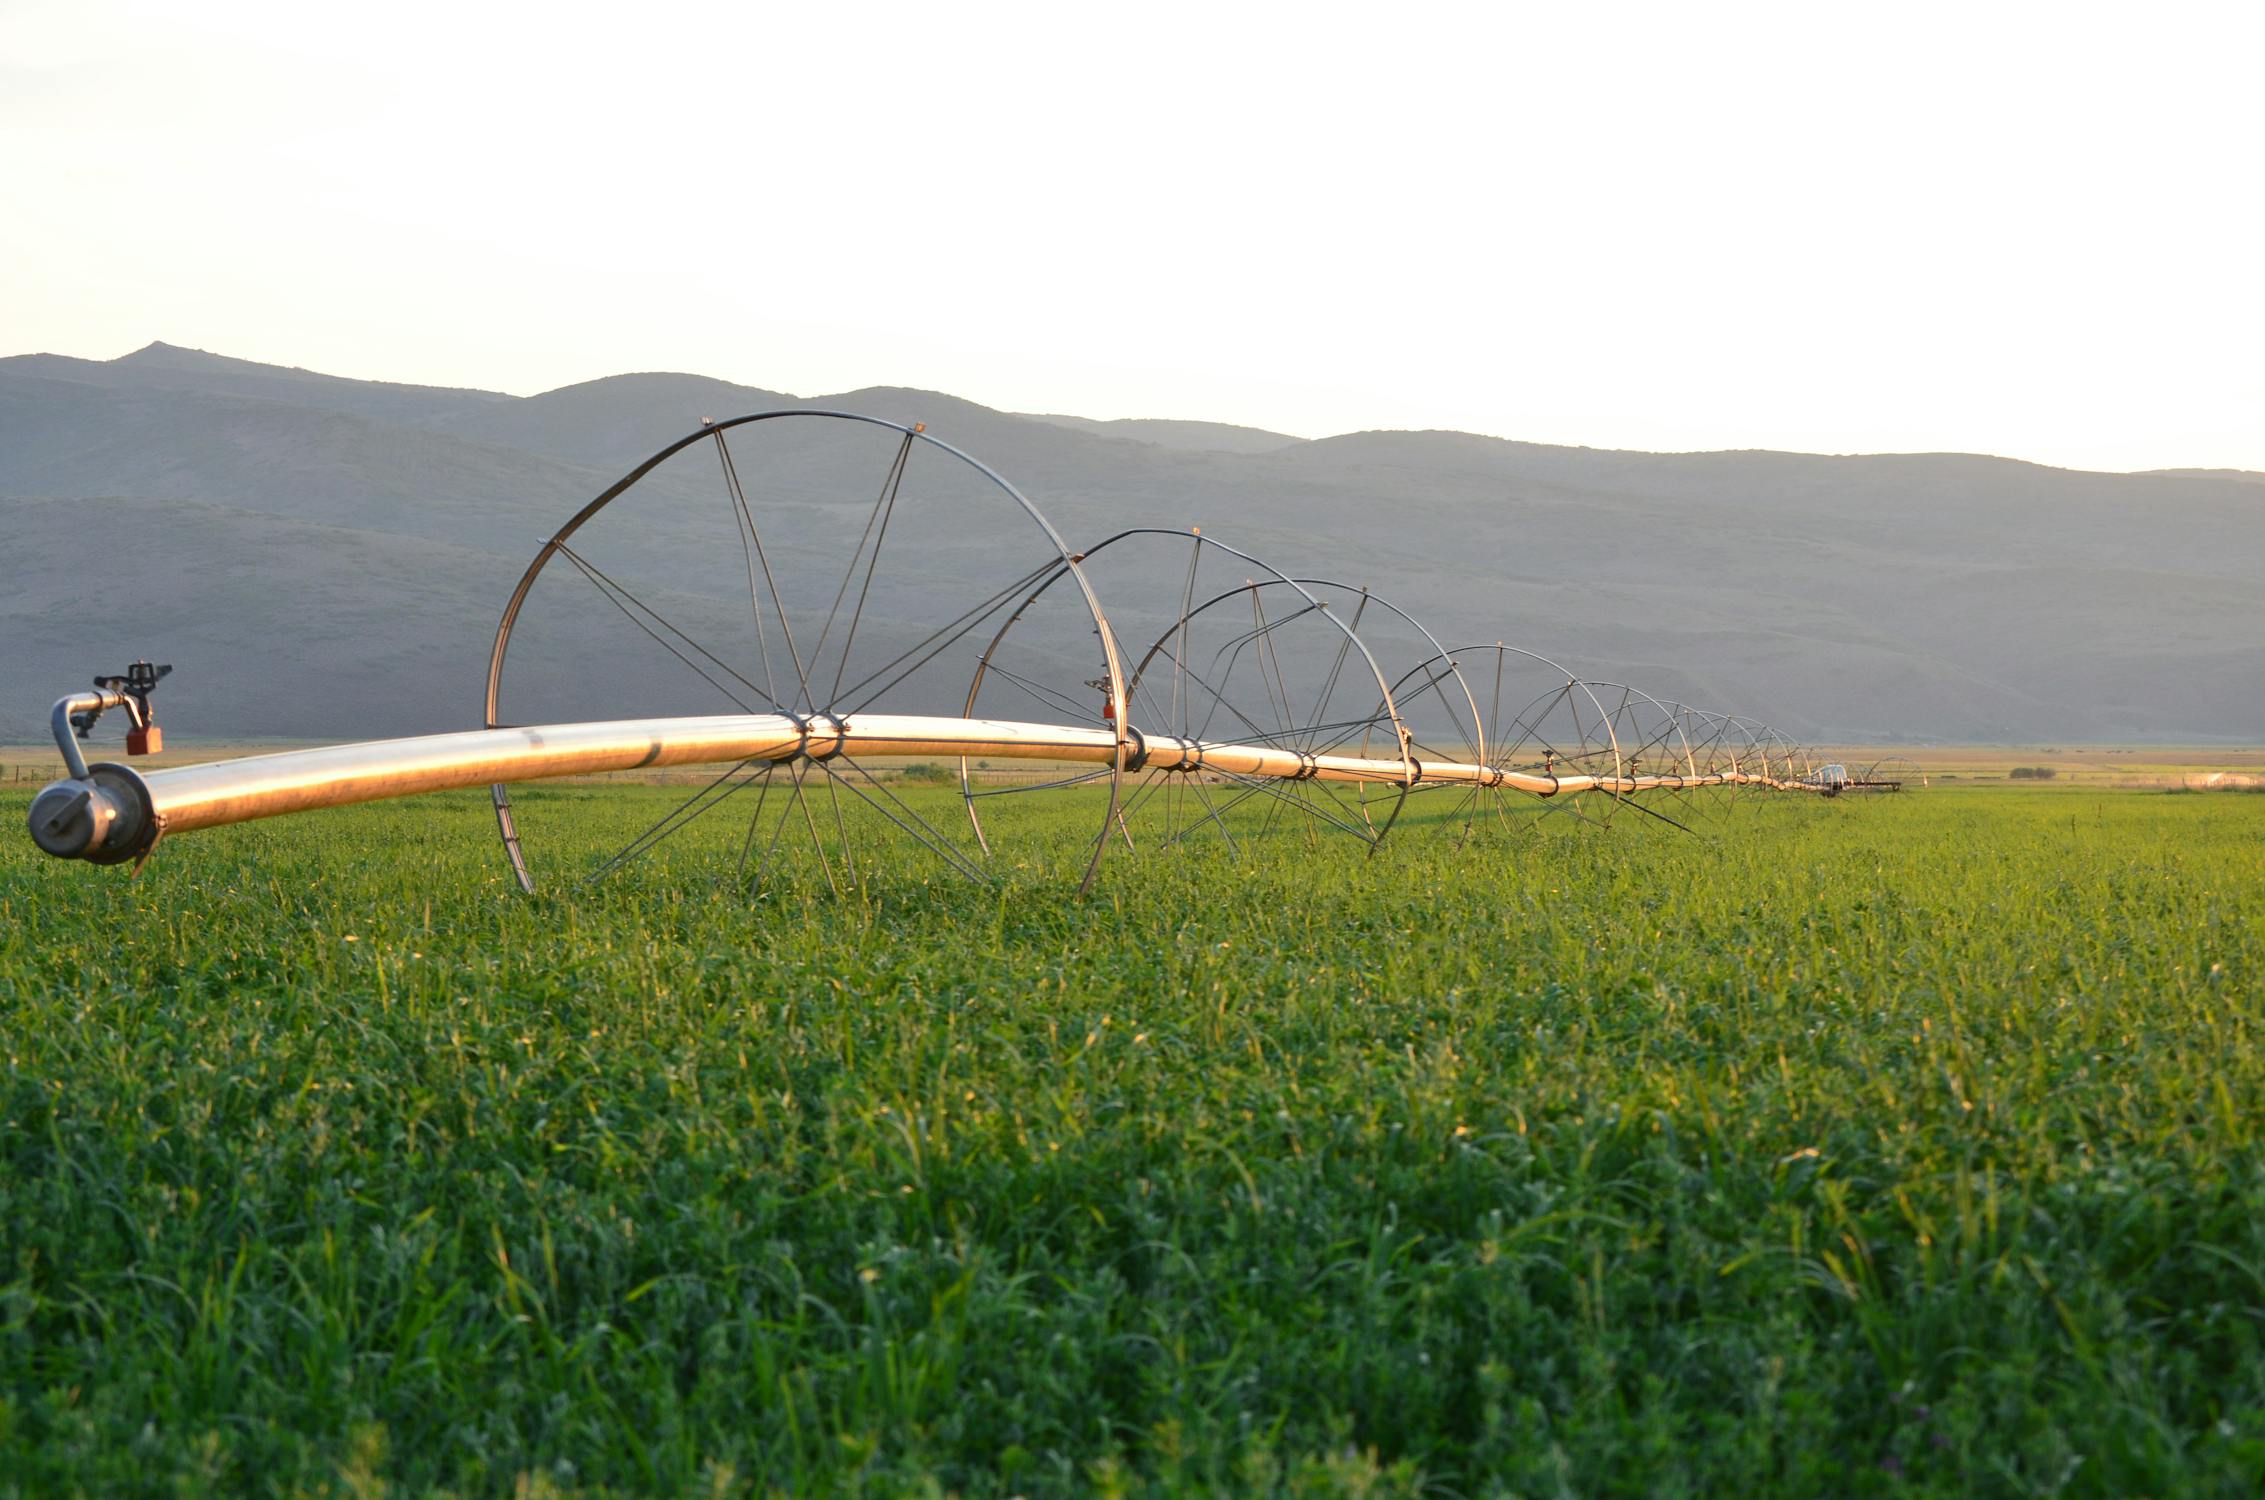
Sprinkler systems are the most common type of automated irrigation system, especially for lawns and larger garden areas. These systems distribute water through a series of sprinklers strategically placed around one’s yard. There are several types of sprinkler heads, including:
– Pop-up Sprinklers: These are ideal for lawns and areas that require even water distribution. The sprinkler heads pop up when activated and retract when not in use, making them unobtrusive.
– Rotor Sprinklers: Rotor sprinklers rotate and spray water in a circular pattern, making them suitable for larger lawns or gardens with widely spaced plants.
– Impact Sprinklers: These sprinklers are durable and can cover large areas, making them a good choice for agricultural or expansive landscapes.
Sprinkler systems can be programmed to water at specific times and intervals, making them highly efficient for covering large areas.
2.2 Drip Irrigation Systems
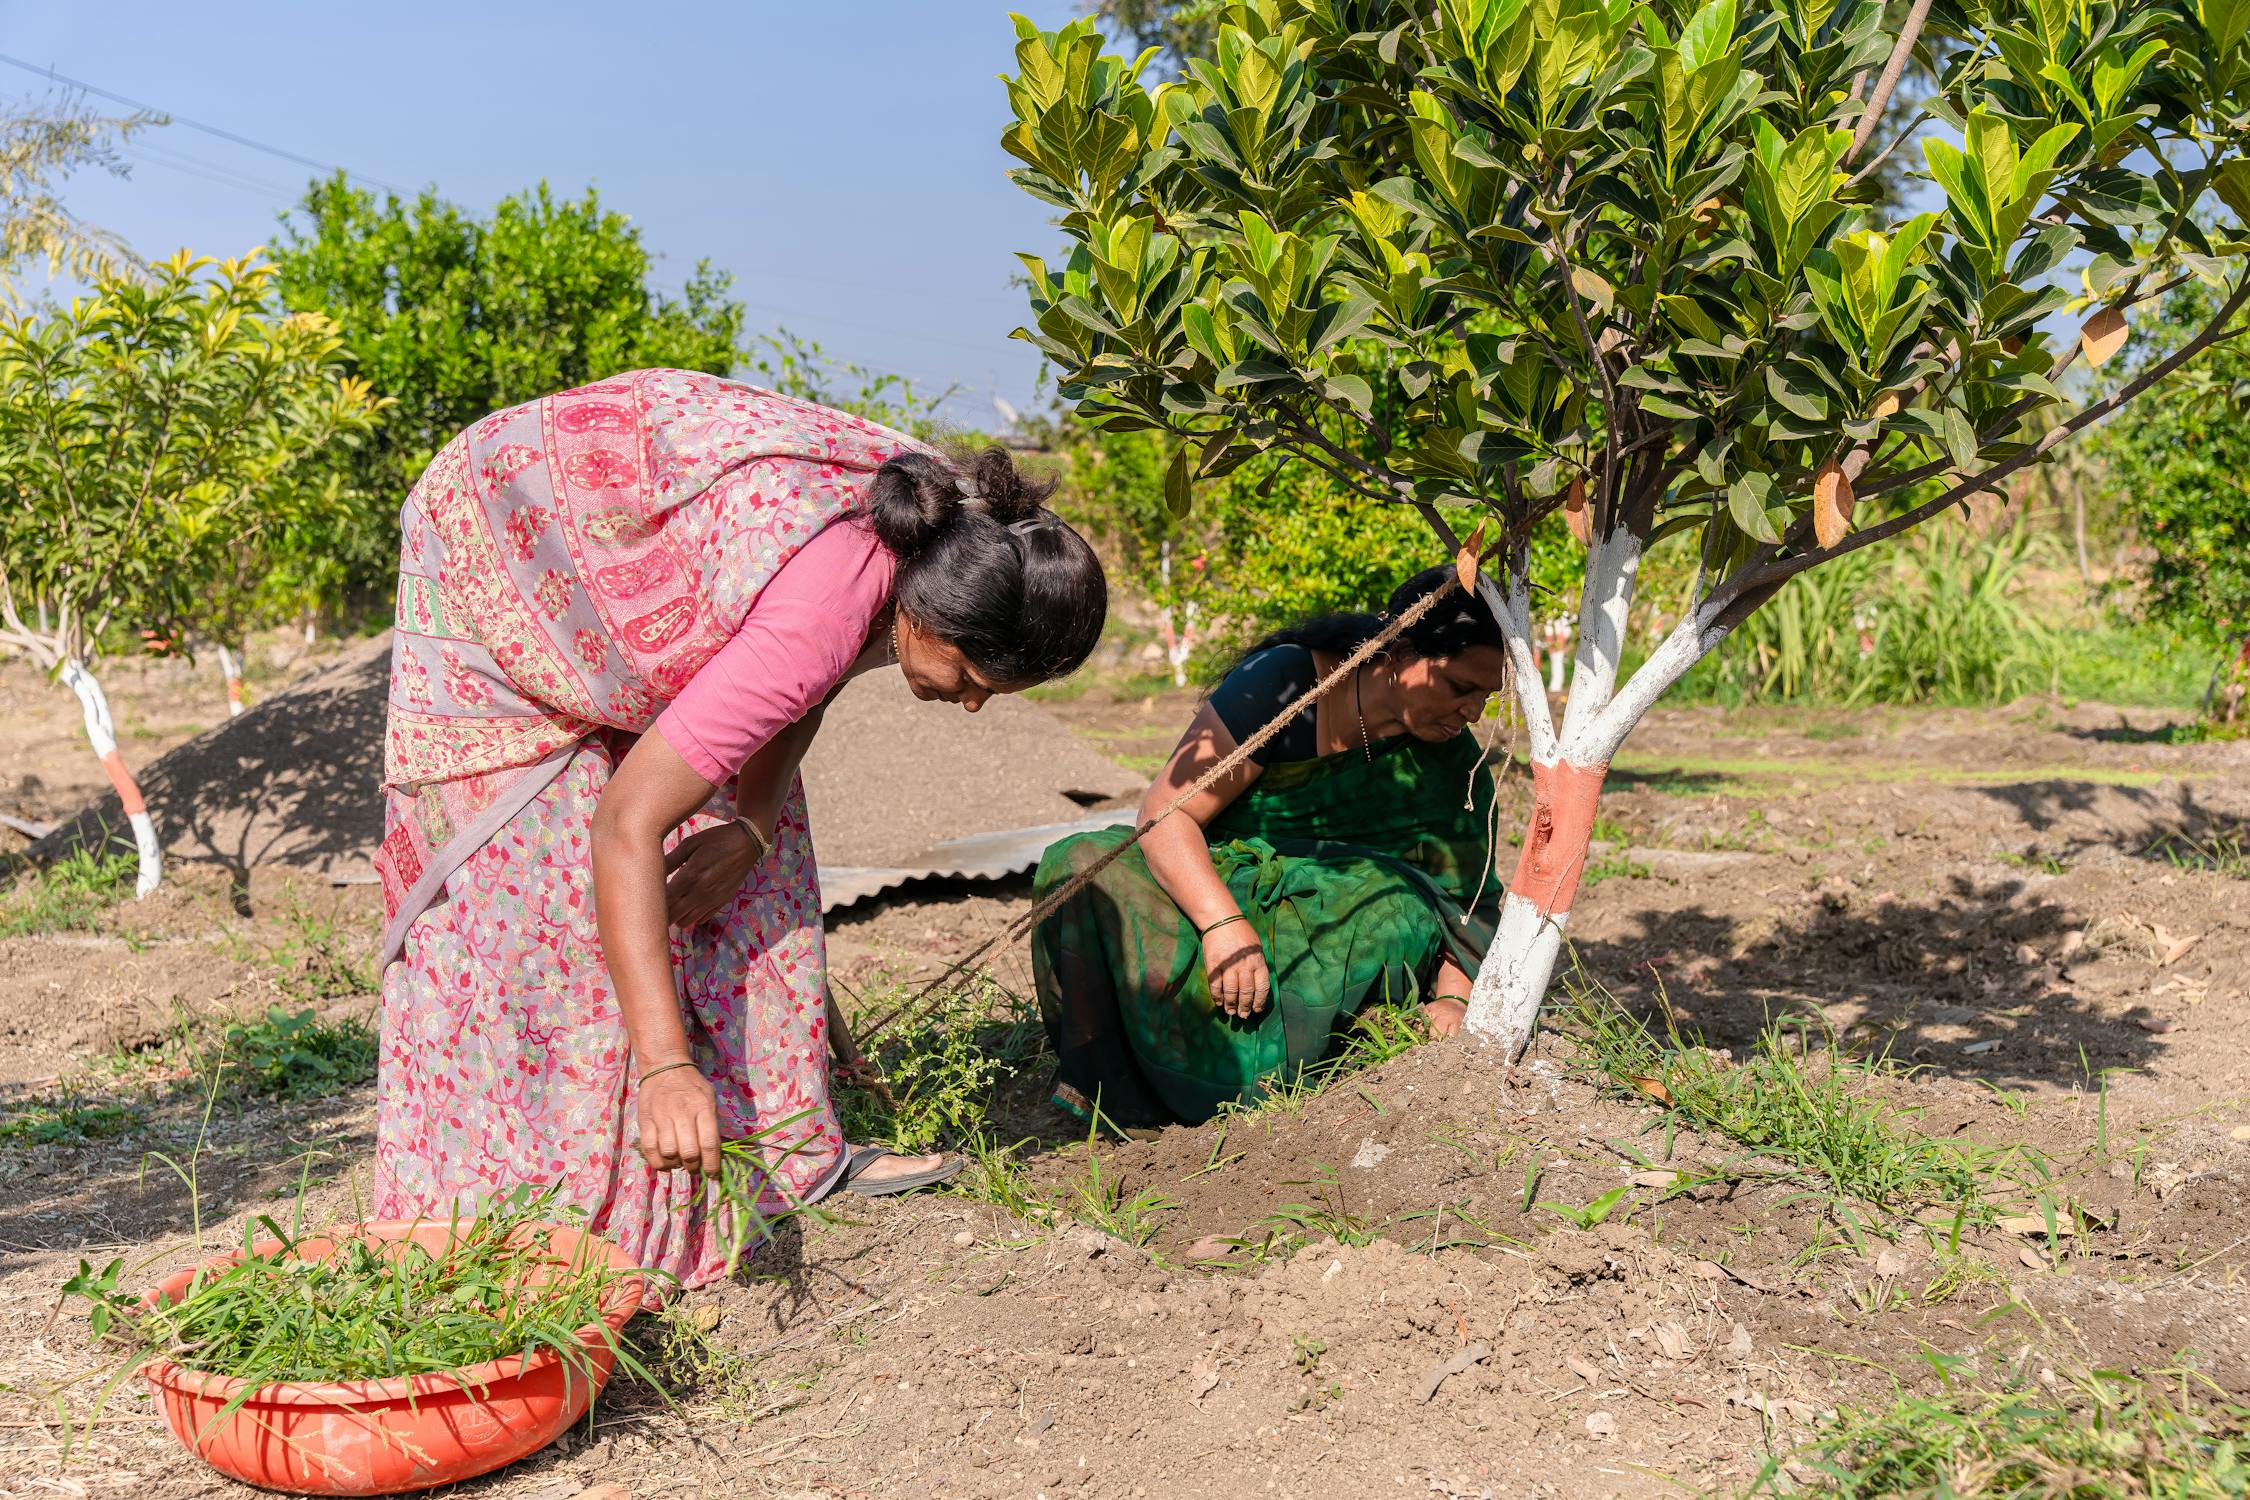
Drip irrigation systems are ideal for gardens, flower beds, and individual plants. These systems deliver water directly to the roots through a network of tubes, emitters, and drippers. Drip irrigation is incredibly efficient, as it minimizes water loss due to evaporation and runoff.
– Micro Drip Emitters: These emitters deliver water slowly and steadily to the base of plants, making them perfect for vegetable gardens, shrubs, and perennials.
– Soaker Hoses: Soaker hoses are porous tubes that release water along their length, allowing for even watering of garden beds and borders.
– Inline Drip Tubing: This tubing has built-in emitters at regular intervals, making it ideal for hedges, rows of plants, or areas with evenly spaced vegetation.
Drip systems are best for landscapes that require precise watering and are particularly effective in areas with water restrictions.

2.3 Smart Irrigation Systems
Smart irrigation systems take automated watering to the next level by incorporating advanced technology. These systems can be controlled via smartphone apps and are often equipped with sensors that monitor weather conditions, soil moisture, and even plant needs. Smart systems adjust watering schedules based on real-time data, ensuring optimal water usage.
– Weather-based Controllers: These controllers adjust watering schedules based on local weather conditions, reducing water waste during rainy periods or increasing watering during hot, dry spells.
– Soil Moisture Sensors: These sensors measure the moisture level in the soil and adjust watering accordingly. This prevents overwatering and ensures that plants receive the right amount of water.
Smart irrigation systems are ideal for tech-savvy homeowners who want maximum control and efficiency over their watering schedules.
3. Installing an Automated Irrigation System
Installing an automated irrigation system can be a straightforward DIY project for smaller gardens or lawns. However, for larger or more complex landscapes, it may be best to hire a professional. Here’s a general guide to the installation process:
3.1 Planning One’s System
The first step in installing an automated irrigation system is planning. Proper planning ensures that one’s system is efficient and meets the needs of one’s landscape.
– Assess One’s Watering Needs: Identify the different areas of one’s yard and determine their specific watering requirements. For example, lawns typically need more water than flower beds, while trees and shrubs may require deep, infrequent watering.
– Design the Layout: Create a map of one’s yard, marking where you want to place sprinkler heads, drip lines, or other components. Make sure to account for water pressure and flow rates, as these will affect the performance of one’s system.
– Choose the Right System: Based on one’s landscape and watering needs, decide whether a sprinkler system, drip system, or smart system is best for one’s yard. One may need a combination of systems for different areas.
3.2 Gathering Materials
Once one has planned one’s system, gather the necessary materials. This typically includes:
– Sprinkler heads, drip emitters, or hoses
– PVC or polyethylene pipes
– Valves and valve boxes
– A controller (or smart controller)
– Connectors and fittings
– A backflow prevention device (required by many local codes)
Ensure one has the correct tools, such as a trenching tool, pipe cutter, and wire connectors if one’s system includes electrical components.
3.3 Installing the System
– Dig Trenches: Begin by digging trenches for the pipes. These should be deep enough to protect the pipes from damage (usually 6-12 inches deep, depending on local climate and freeze-thaw cycles). If installing drip lines, one may not need to dig deep trenches.
– Lay Pipes and Install Components: Lay the mainline pipes in the trenches and connect them to the valves. Install the sprinkler heads, emitters, or drip lines in their designated spots. Use connectors and fittings to ensure a secure, leak-proof connection.
– Install the Controller: Mount the irrigation controller in a protected area, such as a garage or outdoor utility box. Connect the controller to the valves using low-voltage wiring, following the manufacturer’s instructions.
– Test the System: Before covering the trenches, test the system to ensure that water is being distributed evenly and that there are no leaks. Adjust the sprinkler heads or emitters as necessary.
– Backfill Trenches: Once one is satisfied with the system’s performance, backfill the trenches with soil, making sure not to damage the pipes or components.
3.4 Programming and Maintenance
After installation, program one’s system to water at the optimal times for one’s plants and climate. Early morning is usually the best time to water, as it minimizes evaporation and allows plants to absorb moisture before the heat of the day.
Regular maintenance is essential to keep one’s system functioning efficiently. Check for leaks, clean or replace clogged emitters, and adjust watering schedules seasonally. Smart systems may require occasional software updates to ensure optimal performance.
Adding an automated irrigation system to one’s lawn or garden can transform the way one cares for one’s outdoor space. With benefits like water conservation, time savings, and consistent watering, an automated system ensures that one’s plants stay healthy and vibrant with minimal effort on one’s part. Whether one opts for a traditional sprinkler system, a precise drip irrigation setup, or a cutting-edge smart system, proper planning and installation are key to reaping the rewards of automated watering. If one is unsure about the process, remember that professionals are here to help—whether one needs assistance with design, installation, or system maintenance