A garden pond can transform the average homeowner, gardener or landscaper’s outdoor space into a serene oasis, attracting wildlife, providing a sense of tranquility, and adding visual appeal to anyone’s landscape. In this great town of Stouffville, who wouldn’t want such a beautiful adornment to their backyard? And yes, while hiring professionals for pond installation is an option, many homeowners, landscapers or gardeners prefer the satisfaction and cost-effectiveness of a do-it-yourself (DIY) project. In this comprehensive guide, we will take our dear denizens of Stouffville, or whoever is reading this article through the step-by-step process of installing a garden pond without relying on professional assistance. From planning and design to excavation, lining, and adding aquatic plants, everyone will learn everything they need to know to create their own captivating water feature. However, for those who don’t want to do it themselves – remember there are always professionals out there who are willing to do it!
Planning and Design
The first step in installing a garden pond is careful planning and design. Consider the following factors to ensure a successful project:
a) Location: Choose a suitable location for the pond, taking into account factors such as sunlight exposure, accessibility, and visibility from different angles. Avoid placing the pond under trees to minimize debris falling into the water.
b) Size and Shape: Determine the desired size and shape of the pond based on the available space and personal preferences. Keep in mind that larger ponds are generally easier to maintain than smaller ones due to better water circulation.
c) Safety Considerations: For those who have children or pets, consider installing safety measures such as a sturdy pond cover or a shallow area to prevent accidental falls or drowning.
Tools and Materials
Before one begins, gather the necessary tools and materials to ensure a smooth installation process. Here are some essential items that will be needed:
a) Shovel or Excavator: Depending on the size of the pond, one may need to use a shovel or rent an excavator to dig the hole.
b) Pond Liner: Choose a durable and flexible pond liner made of EPDM rubber or PVC. Measure the dimensions of the pond to determine the appropriate size.
c) Underlayment: Use a protective underlayment, such as geotextile fabric, to cushion and safeguard the pond liner from sharp objects and uneven surfaces.
d) Water Pump and Filter: Invest in a reliable water pump and filtration system to maintain water circulation and keep the pond clean.
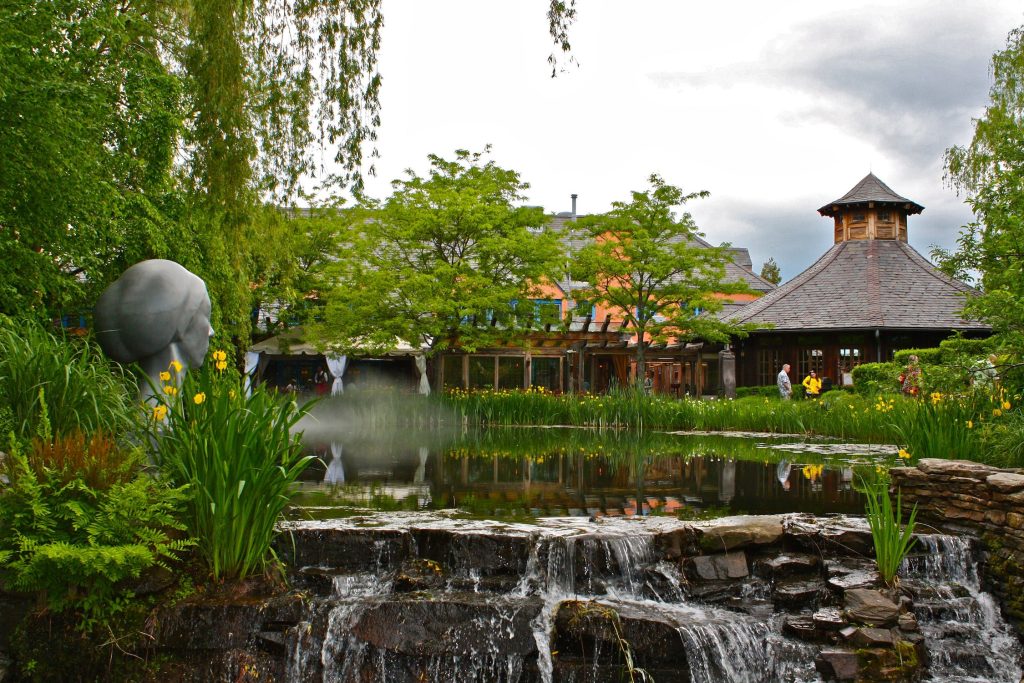
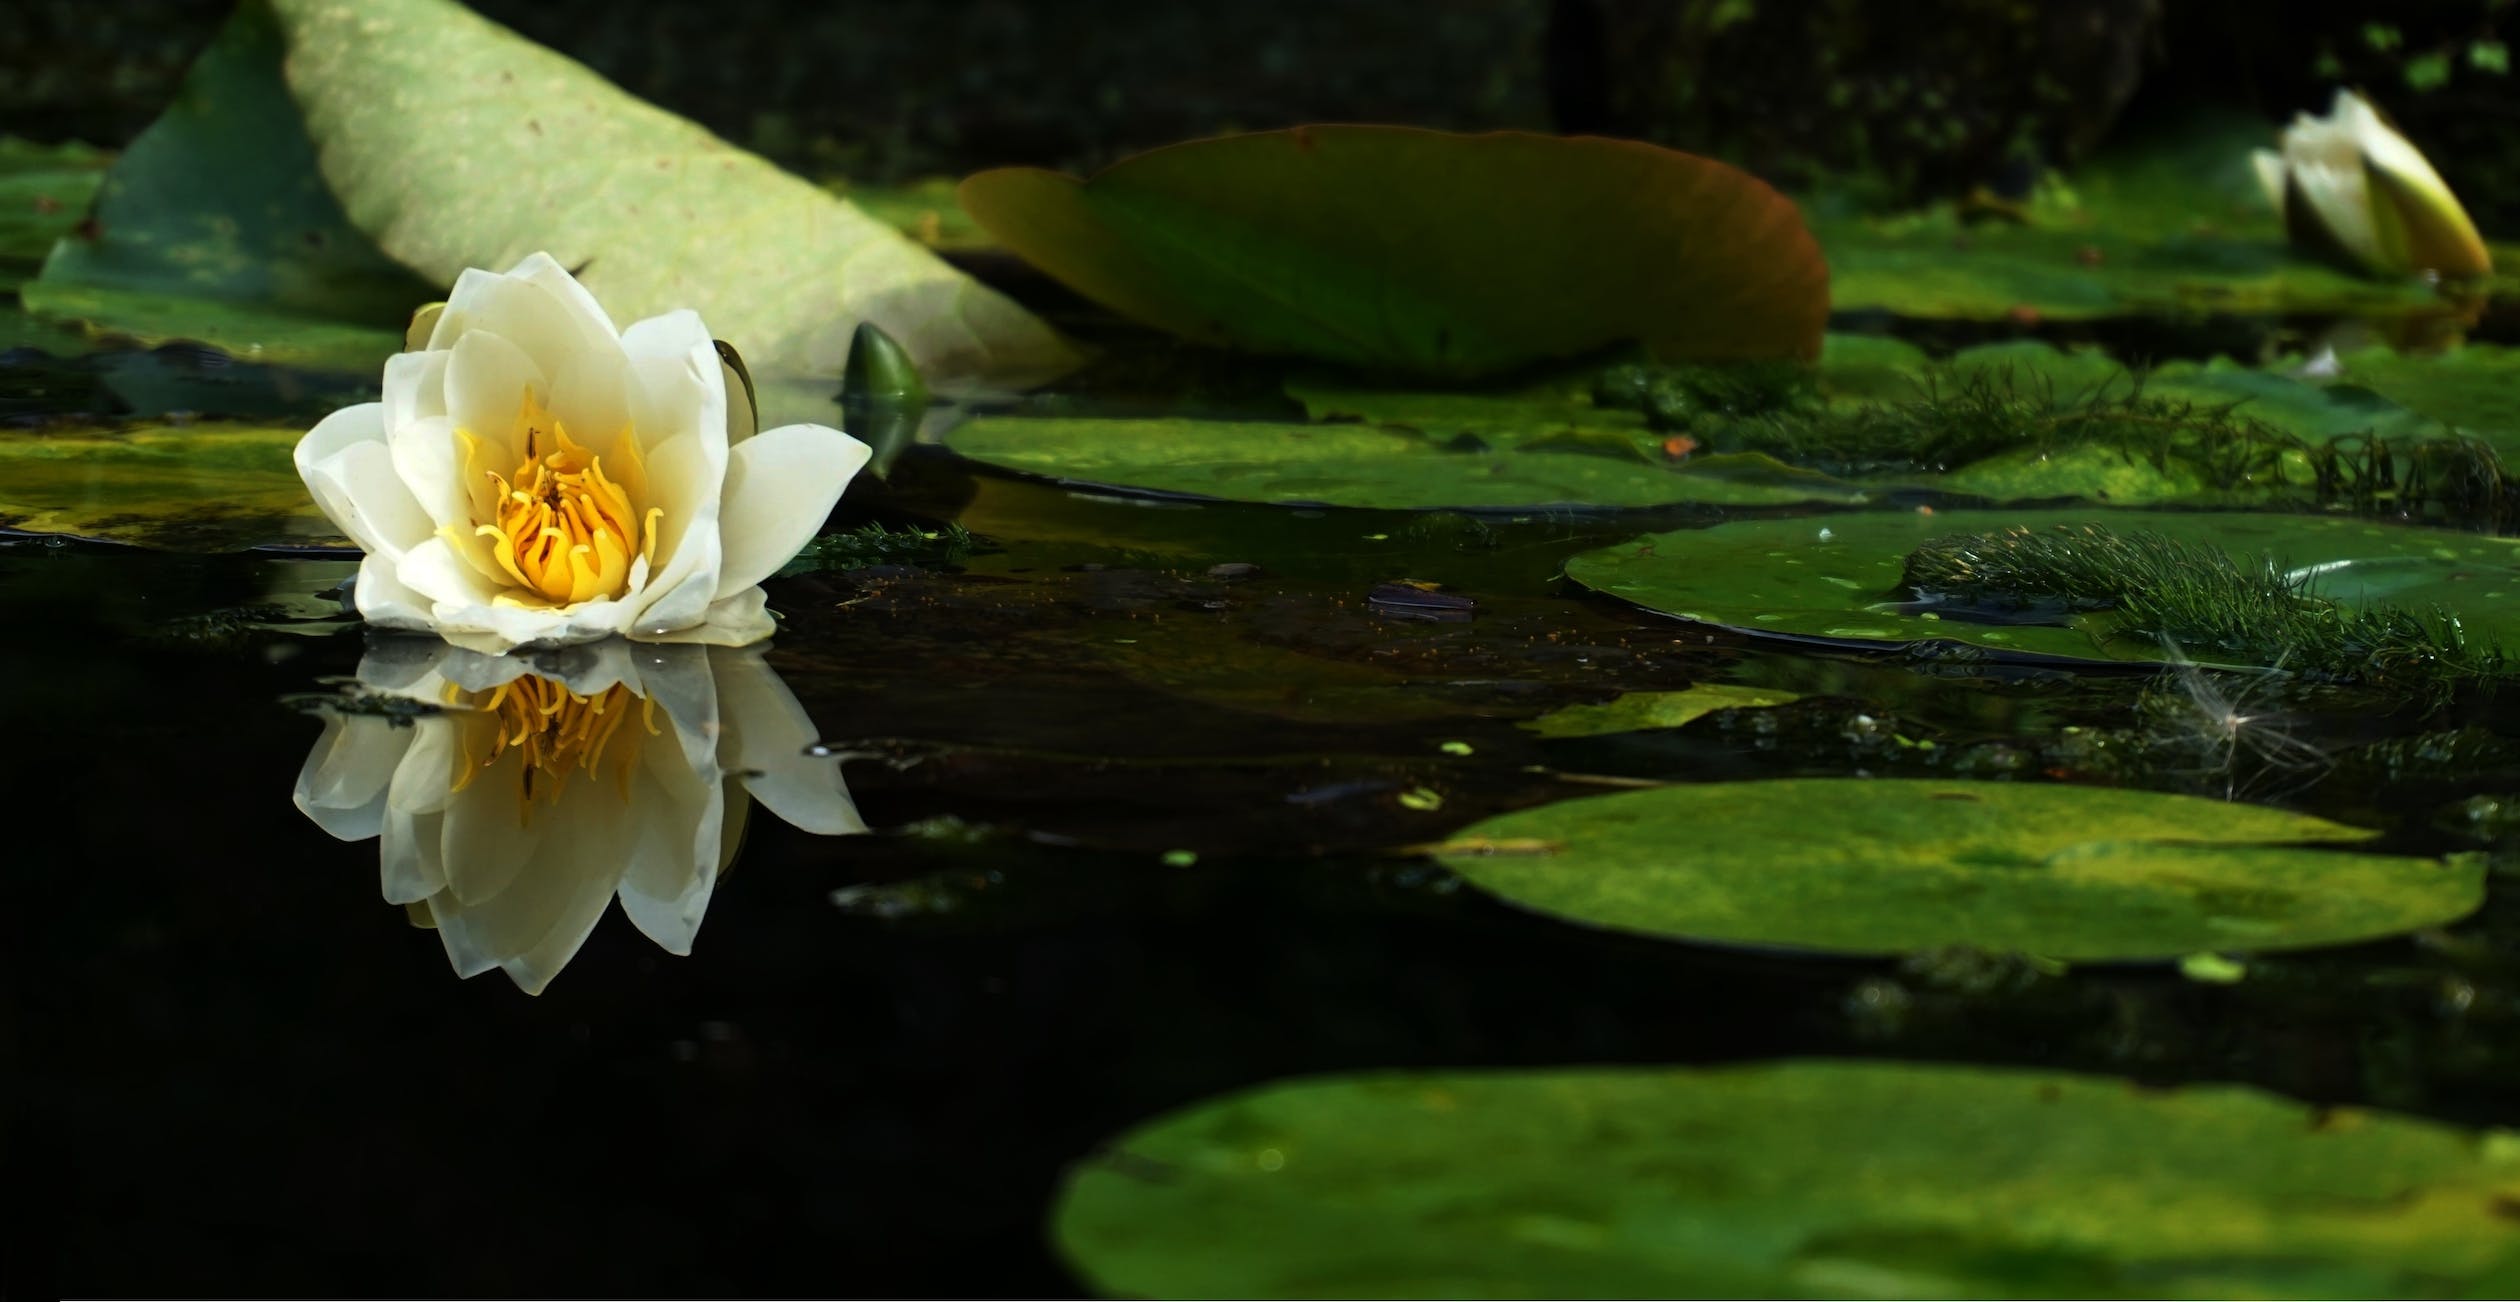
e) Aquatic Plants and Decorations: Select a variety of aquatic plants, such as water lilies, floating plants, and submerged oxygenators, to enhance the beauty and ecological balance of the pond. Additionally, consider adding decorative rocks, pebbles, or statues to create visual interest.
Excavation and Hole Preparation
Once the location has been chosen and one has gathered the necessary tools, it’s time to start digging. Follow these steps for successful excavation and hole preparation:
a) Mark the Pond Area: Use stakes and string to mark the outline of the pond. Double-check the measurements and ensure the shape is acceptable.
b) Start Digging: Begin excavating the marked area, starting from the center and working one’s way outward. Dig to the desired depth, accounting for the pond’s depth and the thickness of the liner and underlayment.
c) Create Shelves: If desired, create shelves or varying depths around the perimeter of the pond to accommodate different types of aquatic plants or provide seating areas for amphibians.
d) Remove Debris: As one digs, remove any rocks, roots, or other debris from the hole to ensure a smooth surface for the liner.

Lining and Water Circulation
After the excavation, it’s time to line the pond and establish proper water circulation. Follow these steps for effective lining and water circulation:
a) Install the Underlayment: Lay the geotextile fabric or underlayment inside the hole, ensuring it covers the entire excavation area. Smooth out any wrinkles or folds.
b) Lay the Pond Liner: Carefully place the pond liner on top of the underlayment, making sure it covers the entire excavation area and extends beyond the edges. Smooth out wrinkles and adjust the liner to conform to the contours of the hole.
c) Fill the Pond: Begin filling the pond with water, simultaneously adjusting the liner to prevent shifting or folding. As the water level rises, continue smoothing out wrinkles and ensuring a snug fit against the sides.
d) Install the Water Pump and Filter: Position the water pump and filter in the desired location within the pond, following the manufacturer’s instructions. Connect the necessary tubing and electrical components.
e) Test the Water Circulation: Once the pump and filter are set up, plug in the pump and check for proper water circulation. Adjust the flow rate if needed and ensure that water is being adequately filtered and circulated.
Adding Aquatic Plants and Finishing Touches
The final step is to enhance the beauty and ecological balance of the garden pond by adding aquatic plants and finishing touches:
a) Plant Selection: Choose a variety of aquatic plants suitable for the pond’s size and depth. Include floating plants, submerged oxygenators, and marginal plants to provide shelter, oxygenation, and aesthetic appeal.
b) Planting Techniques: Pot the plants in appropriate aquatic containers filled with aquatic planting media or soil. Position the plants at different depths based on their specific requirements. Avoid overcrowding to allow room for growth.
c) Decorative Features: Add decorative elements such as rocks, pebbles, or statues to create visual interest and mimic a natural pond environment. Arrange them strategically, considering the overall aesthetic and focal points.
d) Maintenance and Care: Regularly monitor water quality, perform necessary maintenance tasks such as removing debris and controlling algae growth, and adjust plant positioning as they grow.
Installing a garden pond without professional assistance is a rewarding and cost-effective endeavor. By carefully planning, gathering the right tools and materials, excavating and preparing the hole, lining the pond, establishing water circulation, and adding aquatic plants and finishing touches, one can create a captivating oasis in one’s own backyard. Remember to maintain and care for the pond regularly to ensure its longevity and the enjoyment it brings to one’s outdoor space. Embrace the process, unleash creativity, and soon, all who have read this article will be rewarded with a tranquil retreat right at their doorstep. And never forget, for those out there who think creating their own pond might be too tough, there are professionals out there willing to help!